|
|
|---|
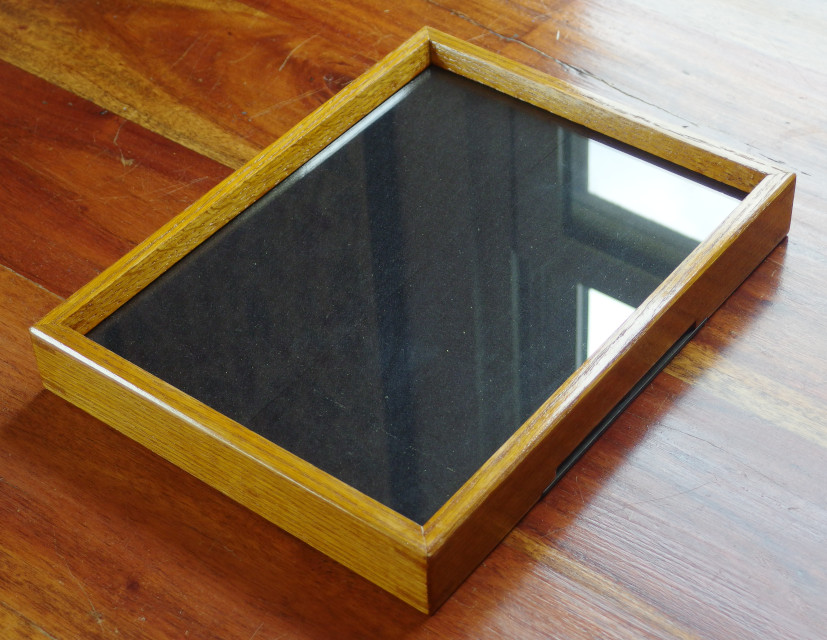
Making a cyanotype requires minimal equipment, and prints can be made using little more than a flat surface and a pane of glass. However, this type of improvised setup is difficult to use when printing with sunlight, and has a tendency to produce blurry results if the components shift during handling. Much better results can be achieved using a printing frame, which is essentially a combination of a picture frame and a printing press, where the frame has a removable pressure plate behind the glass to hold the negative and the paper securely together. This can be assembled indoors and brought outside for exposure, without any risk of shifting or blurring the printed image. Accordingly, for use in future projects, as well as to practice the variety of skills involved in its construction, I decided to build such a device.
I began by making a mitered frame out of red oak, by first cutting a profile onto a long strip of wood using a table saw, then using a miter saw to cut each side to length. In doing so, I found it essential to first cut each side square and slightly over-size, then to use a depth stop when cutting the miters to ensure accuracy. The mitered sides were then initially assembled with ammonia-casein glue and a strap clamp, then notched and splined at the corners for reinforcement once the glue had dried. The splines were then trimmed and sanded, and cutouts were made on the back of the frame to fit the latch mechanism. Notably, the front of the frame features a 25-degree bevel around the glass, to avoid casting a shadow if the frame is somewhat misaligned with the sun.
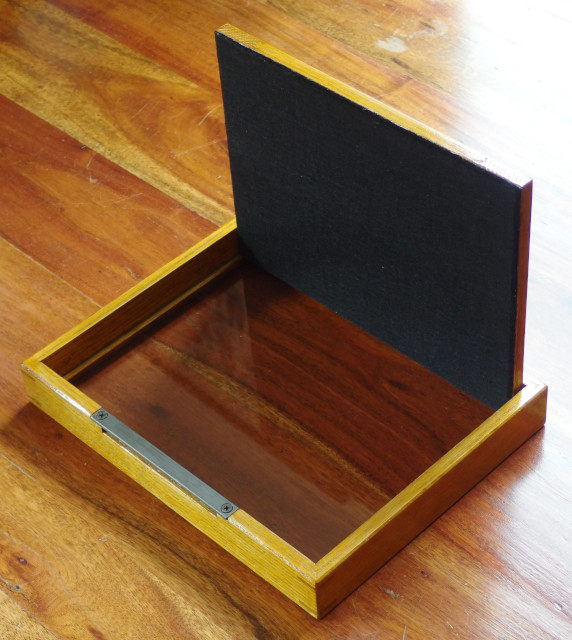
Next I made the pressure plate, also out of red oak, by first planing the central panel and end-boards to the same thickness, then immediately notching and assembling the three components (again, using ammonia-casein glue) before any warping could occur. This cross-grained assembly will ideally help the pressure plate stay flat over time, despite it being made of solid wood. I then cut a pane of glass to the same size as the plate, and sanded the edges smooth to avoid chipping the glass or injuring myself later during use.
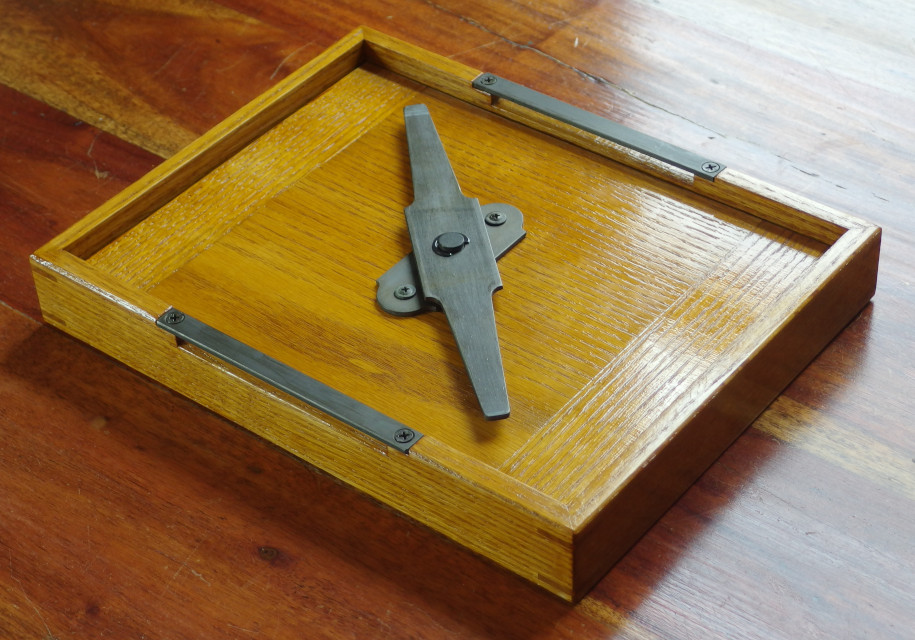
Finally, I made the parts for the latch mechanism out of 1/8-inch mild steel, with the exception of the central pivot, which was turned from cast iron bar stock. The metal components and fasteners were then blackened, and all components (both wood and metal) were then coated with spirit varnish. Additionally, the wood components were sized beforehand with dilute glue to reduce their porosity, and the metal components were buffed afterwards with steel wool, to slightly dull the finish. I then attached self-adhesive black felt to the varnished pressure plate to provide consistent pressure and light absorption, and assembled the printing frame for testing.
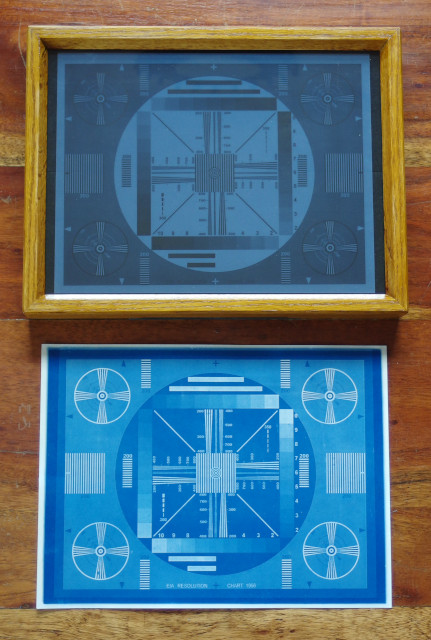
This frame is designed for printing on 9x12 inch paper, and easily accepts letter-sized negatives (either hand-drawn or computer-printed). As a test, I made a print of the EIA 1956 resolution chart, as this contains numerous fine details which would reveal any inconsistent pressure or shifting during the printing process. The result can be seen at the top of the page, and I was unable to find any errors other than minor defects due to debris (sawdust) and the texture of the paper. Also of note is that despite using a fairly old batch of cyanotype sensitizer, I was able to achieve a wide range of density with no perceivable staining of the unexposed areas. Overall, both functionally and aesthetically, I believe this project has been an overwhelming success.