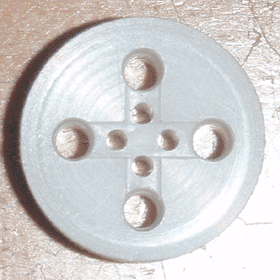


The previous tube socket worked well initially, but it had three major problems which made it unsuitable for practical use. First, the brass contacts required fairly extensive machining, making that style of socket tedious to produce. Next, the contacts would inevitably scratch the surface of the pins, removing the protective nickel or tin plating. Finally, it suffered from the same problem as the initial base design; the terminals could not be soldered without melting the plastic body surrounding them.
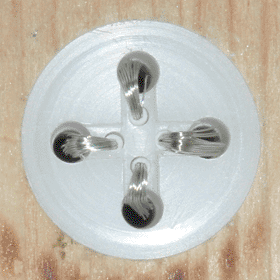
Initially I looked at commercial tube sockets for inspiration, but those invariably used either machined cylindrical connectors or stamped sheet metal parts which would be difficult to fabricate in my workshop. They also tended to be designed to be mounted to sheet metal or another thin material, whereas I primarily use wood for the chassis of my projects. This would make it difficult to mount the tubes flush to their supporting surface. Eventually though, I came across a clever instructable that provided the foundation for this new socket design. Using stranded wire as brush contacts solved all three of the initial problems, and the resulting socket is incredibly easy to manufacture.
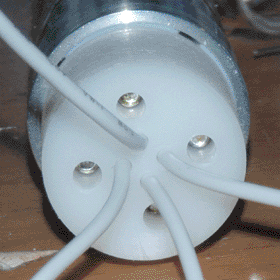
The pictures above show most of the important features of the socket, but one important detail is the size of the pin holes. Near the bottom of the socket, the holes are the exact size of the 1/8 inch pins, providing a snug fit. Near the top however, they are widened to 5/32 inch, leaving space around the pin for the wire brush to compress into. This allows the tube to be held firmly in place without relying on the wire contacts for mechanical support or crushing the wire excessively. As a result, the socket does not damage the surface of the pins, while still providing a solid electrical connection to the tube held in it. Finally, for use in a project, the socket can simply be press-fit into a hole in a wooden board. This allows the tube to sit at the level of the wood with the socket invisible underneath it.