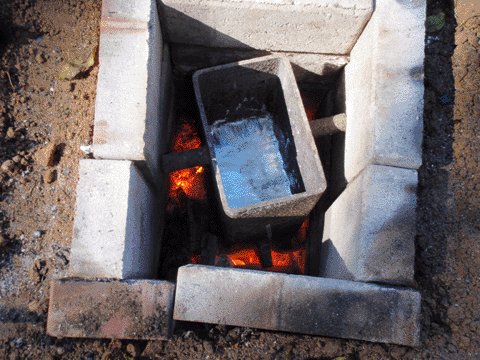
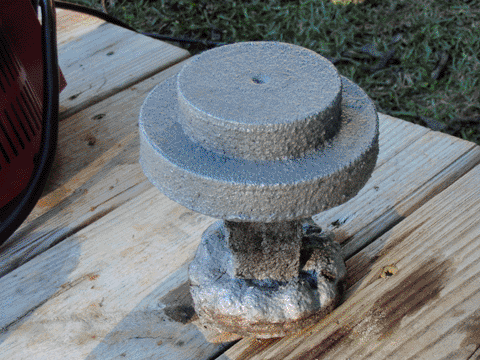
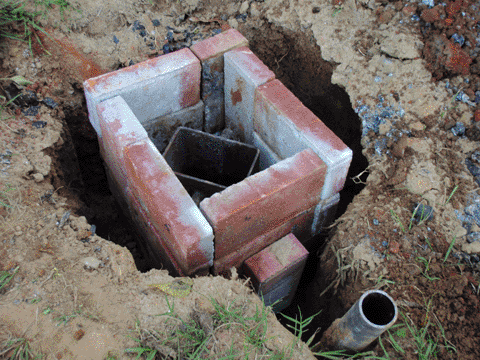
I originally designed this foundry with the intent of building a Gingery-style lathe. Over time, I became less interested in the idea, although it still occasionally crosses my mind. Regardless, the ability to melt and cast scrap aluminum has been an indispensible part of my workshop ever since. In essence, the foundry is just a hole in the ground filled with charcoal, with two accessories. First, bricks to line the walls of the hole. These stop the dirt, which dries when heated, from collapsing inward. Second, a steel tube through which air can be blown, to increase the temperature of the fire.
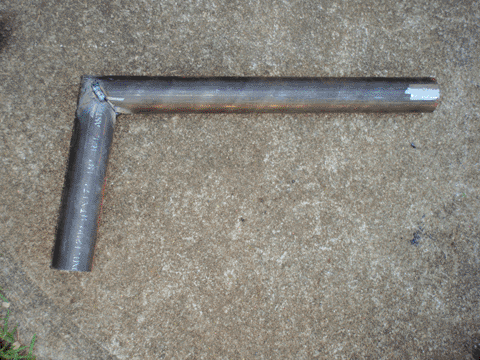
The bricks are ordinary red bricks, not firebricks. They will eventually crack from the thermal stress, but they have worked twice so far. The air tube is steel pipe, cut at an angle and tack-welded back together to make a bend. It didn't need to be airtight because it's surrounded by dirt. Conveniently, the pipe I used matched the size of the hose on my shop-vac, which I used as a blower with a variac to control the speed. Below are pictures of the tube and the assembled foundry, before packing the dirt back in around the edges.
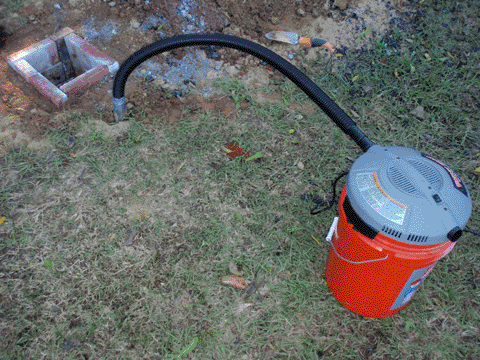
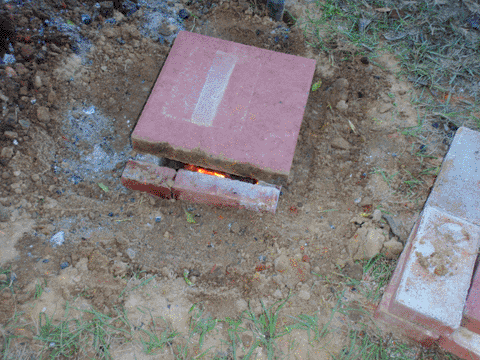
Before operating the foundry, I first warmed it with a small load of charcoal to drive out any moisture. During the warming process and any subsequent heating, I covered it with a 12 by 12 inch paver to retain as much heat as possible. Once the foundry was up to temperature I added the crucible and packed as much of the empty space as possible with charcoal, making sure not to block the airflow from the blower. Below is a picture of the blower setup, as well as a picture of the foundry in operation.
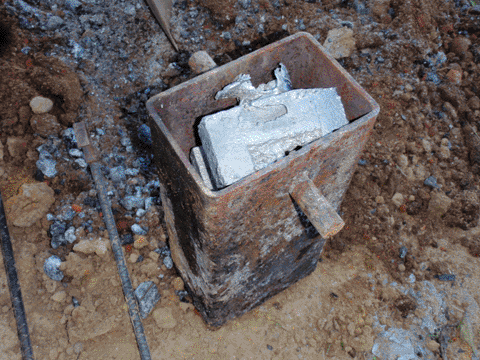
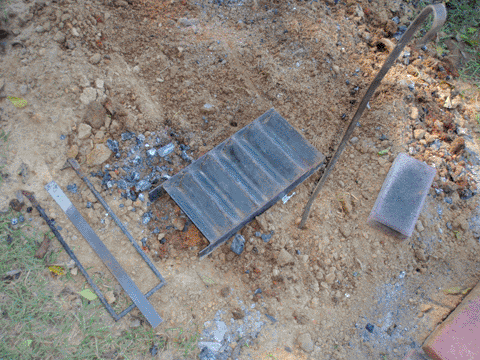
The crucible is 4 by 6 inches wide, and 12 inches deep. I made it from steel tubing, with a base, some pins, and a loop welded on. The pins on the sides allow it to be lifted, and the loop on the back (not visible) allows the bottom to be pulled up to pour out aluminum. I also welded together some tools and accessories specific to the crucible. Below are pictures of the crucible and the tools I used. The tools are, from left to right: lifting fork, slag scoop (on top), ingot tray, stirring rod/pouring hook, cover brick (used to cover the crucible when adding charcoal).
To improve this project, I will add a pouring spout to the crucible to make it more controllable and less dangerous, and will make the stirring rod and pouring hook two seperate tools to avoid accidental burns. Other than that, everything works acceptably.