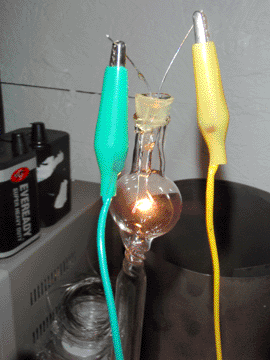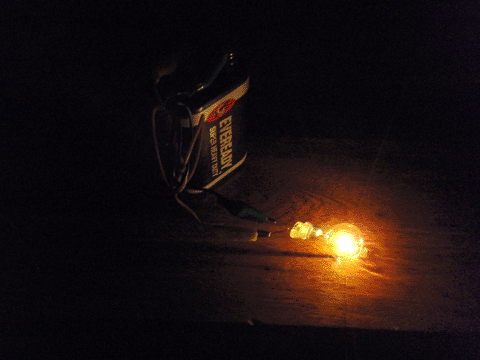

In my attempts to make a working diode, I have discovered that it is near-impossible to assemble a tube with more than two electrodes using a simple pinch seal. Holding the electrodes in place while pinching the glass is difficult on its own, and the heat required to fuse the glass also causes the electrodes to sag and warp, ruining whatever configuration they were initially in. To overcome this, I developed a two-part tube assembly and built another light bulb to test it. The process can be seen in the diagram below.
This bulb began with a 24 inch section of 12mm flint glass tubing. I heated it about 8 inches from one end, and pulled it apart to make a narrow section. I then scored this section with a diamond grit file and broke it by hand to remove the short half from the rest of the tubing (step A). This left a sharp edge, so I fire polished it, then plugged the hole with hot glue so I could blow a bulb (step B). After letting the bulb cool, I heated the tubing above the bulb and twisted it to narrow the opening through it (step C), so I could seal it more easily on the pump. I previously attempted to pull the glass apart to narrow it here, but that left the glass too thin to withstand a vacuum. I then removed the hot glue with acetone (it adhered too well to remove by hand) and separated the tapered end from the bulb (step D). I did this by scoring around the tubing with a diamond grit file, then heating the score with an orange-hot loop of 0.5mm titanium wire powered by my DC power supply at 5 amps.
To make the electrode seal, I held the hairpin assembly firmly in a pair of pliers and fit the cone-shaped glass piece over it. The pliers protected the electrodes from the heat of the torch, which I used to fuse the glass around the wires (step E). I then fit the cone into the open end of the bulb and fused the two together by rotating the assembly in a torch flame (step F). Immediately afterward I thoroughly annealed the joint by cutting off air to the torch to reduce the flame temperature. Finally, I separated the leads and added hot glue into the base for strain relief.
The benefit of this type of assembly is that when sealing the base of the tube, the electode pinch seal remains solid, so the configuration of the electrodes is not lost. This allows for fairly complex tubes to be made with components in close proximity.

While the process for making this tube worked well, the tubing itself did not. It turned out to be incompatible with the 6mm tubing I bought, and is very thin (slightly less than 1mm). This has been the cause of many catastrophic failures such as bulb implosions and cracks during the sealing off process. The bulb described in this article failed at the twisted section a few hours after these pictures were taken, as did an experimental diode (which appeared to be working!) while on the pump. More work is needed to develop better construction methods.
Despite the problems with the glass tubing, I did manage to observe an interesting phenomenon. When the bulb was run for a prolonged period of time, the 0.5mm titanium wire supplying power to the filament began to glow red-hot inside the bulb. When this happened, the vacuum gauge readout dropped from around 5-7 millitorr, to below 1 millitorr! This confirms that titanium can be used as a bulk getter, and that it works exceptionally well.